How to Make Synthwave Music: A 2026 Producer's Guide
Founder & CEO, Futureproof Music School
Synthwave. The name alone probably conjures images of chrome Lamborghinis, neon sunsets, and synth arpeggios that somehow feel like a memory from a future that never happened. If you're a producer who's been captivated by this aesthetic, you've come to the right place. Making synthwave music isn't just about cranking up the reverb; it's a form of sonic time travel. It's the art of distilling the essence of a decade's-worth of electronic dreams into your own track.
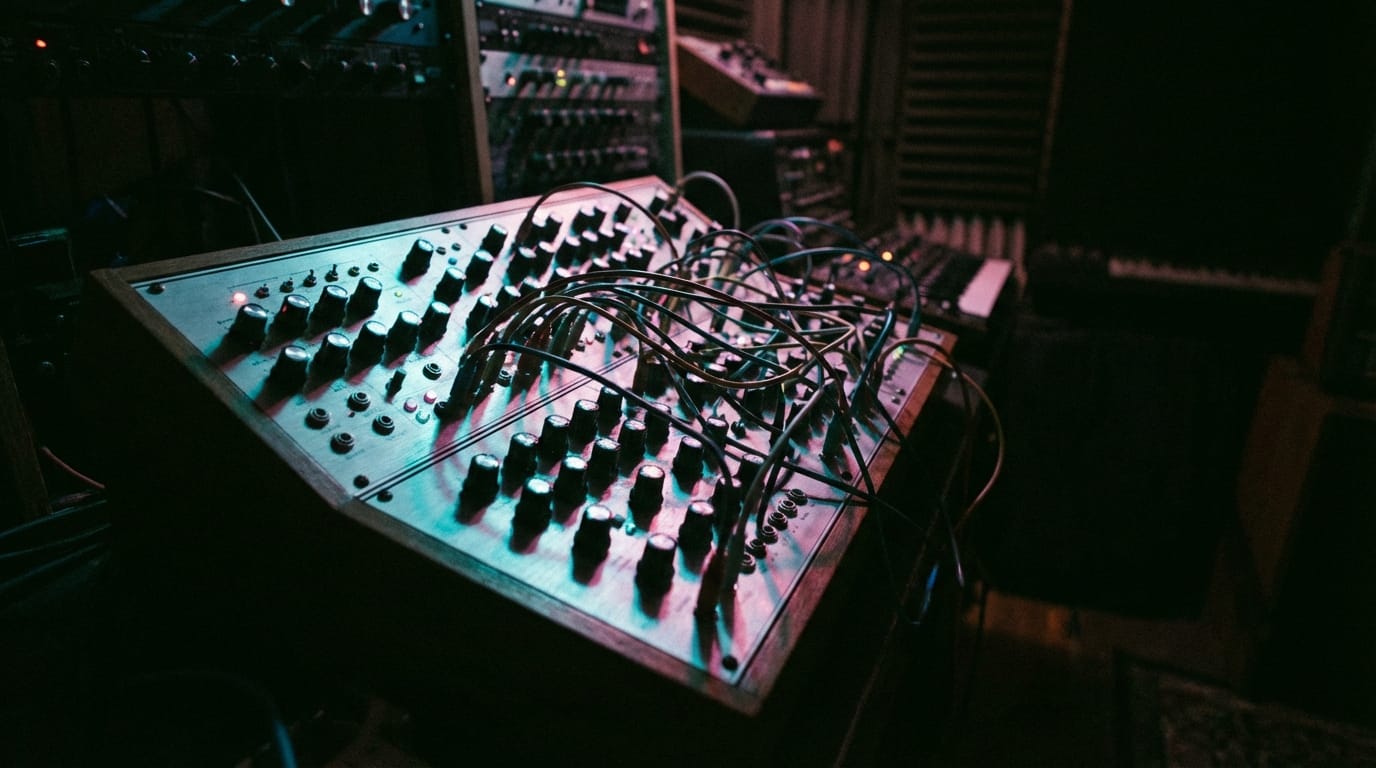
And the best part? You don't need a vintage studio filled with expensive hardware. The modern synthwave producer wields a DAW and a carefully chosen collection of virtual instruments and effects. This guide breaks down exactly how to make synthwave music, from the foundational sounds to the techniques that will give your tracks that unmistakable shimmer.
What Makes Synthwave Tick? Understanding the Sonic DNA
To make convincing synthwave music, you first need to understand its roots. Synthwave is fundamentally a love letter to the synthesizer-driven scores of 1980s cinema and video games, artists like John Carpenter, Tangerine Dream, Giorgio Moroder, and Vangelis. It captures a very specific emotional texture: nostalgia for a time and place that feels slightly out of reach, a vision of the future as imagined in the past.
The genre's DNA involves a handful of recurring characteristics:
- The Signature Reverb: Large, washy reverb is non-negotiable. Every element should breathe in a vast, atmospheric space.
- Analog Warmth & Imperfection: Real vintage gear had character. Use saturation, slight detuning, and subtle chorus to add organic warmth.
- Gated Drums: A pumping, gated snare sound defines the rhythm section. Think Phil Collins on a neon highway.
- Driving Basslines: Punchy, melodic bass synths that lock in with the kick create an irresistible forward motion.
- Lush Pad Stabs: Big, pillowy chords created with pads are a cornerstone of the synthwave atmosphere.
Understanding these pillars will inform every sound design and mixing choice you make.
Choosing Your DAW and Key Synth Plugins for Synthwave
When learning how to make synthwave, your first decision is your digital audio workstation (DAW). The great news is that synthwave is a genre where the DAW matters less than the plugins you use within it. Whether you choose Ableton Live, FL Studio, or Logic Pro, the fundamentals remain the same. Choose the tool you're most comfortable with, as workflow fluency is more important than any specific software feature.
Where it really matters is your choice of synthesizers and effects. There are a few plugins that have become essential to the synthwave toolkit:
- Arturia Juno-60 V / Roland JUNO series: The Jupiter-8 and JUNO series are practically synonymous with synthwave. The lush chorus effect, characteristic of the Juno's BBD (Bucket Brigade Device) circuit, is one of the most iconic sounds in the genre. Arturia's software recreations are excellent, affordable alternatives.
- Arturia Prophet V / Sequential Prophet-5: For lead sounds and punchy, layered pads, this polysynth is a go-to. Its slightly harder, brighter character differs beautifully from the Juno's softness.
- Arturia Mini V / Minimoog Model D: The Minimoog's powerful, sweeping bass capabilities are perfect for creating those iconic, warm, and slightly overdriven basslines that underpin great synthwave tracks.
- Serum / Vital: Don't let the "modern" label fool you; a competent synthesizer can nail vintage sounds. These wavetable synths are incredibly flexible and can be programmed to evoke analog warmth convincingly.
For effects, you'll want a good plate reverb (Valhalla Vintage Verb is an industry standard), chorus, delay, and a solid compressor with visual feedback.
Building Synthwave From the Ground Up: Your Blueprint
1. Program the Beat: Gated Drums & the Driving Kick
The synthwave rhythm section is built on a foundation of processed acoustic drum samples. The key is to use classic, punchy drum samples (think a punchy 808-style kick and a snappy snare from the early 1980s) and then heavily process them.
- The Gated Snare: The iconic pumping gate effect is achieved by running your snare track through a noise gate triggered by the kick drum. When the kick hits, it closes the gate, cutting the snare's reverb tail. This creates that signature choked, pulsating sound. You can also manually automate a short cut on the reverb send to simulate this effect.
- The Kick: A solid, punchy kick that sits low in the mix without being "bassy" is ideal. You want it to drive the track forward without competing with the bass synth.
- Hi-Hats & Cymbals: Keep your hi-hat patterns relatively straightforward. A simple 8th-note or 16th-note closed hi-hat pattern with occasional open hats is all you typically need. Use some subtle timing imperfections to add a human feel.
2. Lay the Foundation: The Synthwave Bass
The synthwave bassline is melodic and rhythmic at the same time, often playing a pattern that complements the chord progression rather than simply holding root notes.
- Start with a Minimoog-style bass patch: a single oscillator with a touch of saw wave detuning, running through a warm, resonant low-pass filter. A bit of drive adds character.
- The filter should have a moderate amount of envelope modulation: noticeable attack and decay (often synced to the tempo) to create a punchy, plucky quality.
- The bass should typically occupy the frequency range between approximately 60-200Hz.
3. Define the Harmony: Chord Stabs and Pad Layers
The chords in synthwave are the emotional heart of the music. Don't just play one chord; layer multiple sounds together to create a rich, multi-dimensional harmonic texture.
- Layer 1: Sustaining Pad: Start with a soft, slow-attack JUNO pad sound. This is your long, held chord that creates the atmospheric backdrop. A slow attack of 300-500ms and a moderate to long release will make it feel like it's breathing in the space.
- Layer 2: Chord Stab: A faster-attack Prophet-style patch plays the same chords but with a much shorter attack and release. This "pokes" through the mix and adds definition to the chord hits. The transient of this layer is what you actually hear as the distinct chord attacks.
- Layer 3 (Optional): Arpeggio or Lead Element: A thin, melodic arpeggio using the same notes as the chord can add rhythmic interest without cluttering the mix.
4. Craft the Melody: Lead Synths and Solos
A great synthwave lead is a balance between power and expression. Classic choices include:
- The Prophet Lead: A slightly detuned, bright saw-wave lead with moderate portamento (pitch glide) is a classic choice. Add a hint of filter cutoff automation to make it feel alive.
- The Solo Lead: A more expressive, horn-like or vocal-like timbre works well for soaring melodies that evoke emotion. Think of a slightly overdriven saw with plenty of reverb and delay.
- For a more "cinematic" feel, add subtle vibrato (pitch modulation from an LFO) after the initial note attack, mimicking a real instrument player's technique.
5. The Atmosphere: Pads, Arpeggios, and Texture
Synthwave lives and dies by its atmosphere. The space between the musical notes is just as important as the notes themselves.
- Longer Pad Swells: Use slow-moving, evolving pads with automated filter cutoffs to add tension and release at key moments in the song structure.
- Arpeggiated Sequences: A synth arpeggio running 16th or 8th notes is a signature synthwave texture. Lock it tightly to the tempo with a tempo-synced delay.
- Sound Design Textures: Subtle ambient elements, like distant noise sweeps, filtered sample snippets, or evolving textures, can add depth and a sense of cinematic scope to the background.
Mixing Synthwave: Getting That Spacious, Vintage Sound
Once all your elements are programmed, the mixing stage is where the production truly comes to life. Mixing for the synthwave aesthetic is fundamentally about creating space and depth, not just loudness.
Volume and Panning
Start with your levels. The kick, snare, and bass should form the dominant core of the mix. Then build the layers of pads, leads, and arpeggios around that foundation. Pan instruments subtly left and right to create width, but be judicious; many classic synthwave mixes have a relatively narrow stereo image.
EQ for Clarity
Synthwave's lush, layered nature requires precise equalization to prevent a muddy, indistinct sound. High-pass filter everything that doesn't need low end (pads, arpeggios, leads) to clear space for your bass and kick. Use a gentle mid-range cut on your pads to create a "hole" in the frequency spectrum for your leads to sit in.
Reverb: The Essential Glue
Reverb is arguably the most important tool in your synthwave mixing arsenal. Use a large plate or hall reverb with a moderately long decay time (1-3 seconds) across most of your elements. The key is to use a long pre-delay on your reverb (30-80ms) to keep the dry sound upfront and intelligible, while the tail washes in behind it. Apply more to the pads and leads; less to the kick and bass, where clarity is paramount.
Chorus: The Juno Effect
Chorus is the sound of the Roland JUNO series. Adding subtle chorus to your pads, and perhaps your bass, will immediately evoke the genre's sound. Be careful not to overdo it; a little goes a long way. For a thicker effect, modulate the chorus speed and depth carefully.
Tape Saturation and Compression
A touch of tape saturation, applied subtly to individual buses or the master chain, will add harmonic richness and "glue" your mix together. Gentle parallel compression on your drum bus can add punch and presence without squashing the dynamics.
The Loudness Game: Mastering for Synthwave
Mastering for synthwave is generally less aggressive than, say, modern EDM. The goal is to enhance what's already there, not to force loudness. Aim for a final LUFS level that allows the dynamics and space of the mix to breathe. A moderate limiter ceiling of -1dBTP is typically appropriate.
Advanced Techniques to Elevate Your Synthwave Productions
Analog-Style FM Synthesis for Textural Leads
While analog emulations are the core of synthwave, FM synthesis can add textural leads with a distinct quality. Subtle FM modulation can create metallic, bell-like tones that add interest to lead parts, recalling the DX7-style sounds of certain 1980s recordings. Experiment with just a touch of FM operator on a carrier to add a shimmering, slightly inharmonic edge.
Detuned Unison for Massive Pads
For huge, wall-of-sound pads, use the unison feature in your synth with a moderate amount of detuning and a spread of 50-70% stereo width. This creates the impression of multiple instruments playing together, which is the core of the "lush" synthwave sound. Be careful; too much detuning leads to pitch instability and tuning issues.
Sidechaining for Breathing Dynamics
A gentle sidechain compressor on your pads and synths, triggered by the kick drum, will create a subtle pumping effect that's characteristic of many classic dance-influenced synthwave tracks. Keep the compression ratio low (around 2:1 to 4:1) and the attack and release times synced to the tempo to avoid an overly obvious "EDM pump."
Building Tension with Analog Filter Sweeps
Automating the cutoff frequency of a low-pass filter on a pad or arp is a classic tension-and-release technique. Slowly opening the filter over 4-8 bars builds anticipation; suddenly cutting it creates a dramatic moment. This is one of the most powerful arrangement tools in the synthwave arsenal.
Crafting Synthwave Chord Progressions
Synthwave often relies on a handful of emotionally resonant chord progressions. Minor key progressions like i-VI-III-VII (e.g., Am-F-C-G) or i-VII-VI-VII (e.g., Am-G-F-G) create the bittersweet nostalgia synonymous with the genre. Don't shy away from using major 7th or minor 9th chords to add sophistication and color beyond simple triads.
Subgenres of Synthwave to Explore
As you dive deeper into how to make synthwave, you'll discover it encompasses a spectrum of sounds and aesthetics:
- Outrun/Darksynth: A harder, more aggressive offshoot with metal influences, distorted guitars, and heavier, grittier sound design.
- Dreamwave/Chillwave: A softer, more introspective style, often featuring lo-fi textures, muted timbres, and a hazy, bedroom-pop quality.
- Retrowave: The classic sound. A heavy reliance on gated drums, major key pop hooks, and straightforward song structures.
- Darksynth: Darker, more horror-influenced, often featuring minor keys, dissonant harmonies, and intense, driving rhythms.
Structure and Arrangement: Building Your Synthwave Track
A typical synthwave track structure mirrors classic pop or dance music: an intro to establish mood, a verse section, a powerful chorus or "drop," a bridge, and an outro. What matters most is building and releasing tension effectively.
- The Intro: Start sparse. A lone arpeggio, a subtle pad swell, or a cinematic atmospheric effect can be incredibly effective at drawing the listener in before the drums kick.
- The Build: Gradually layer elements over 8 or 16 bars. Add the bass, then the drum elements, then introduce chords. Each new element should feel like an "event."
- The Drop or Chorus: This is where the full sonic picture comes together. All your elements should be present, and the energy should peak here. Consider a brief, dramatic silence or a "riser" effect just before this point for maximum impact.
- The Bridge: A bridge can provide contrast and relief from the main theme. Strip the production back to create an intimate, tension-building moment before the final chorus.
Your Synthwave Production Checklist
Let's consolidate everything we've covered with a streamlined checklist to guide your workflow:
- Core Sound Palette: Have you programmed your key Juno/Prophet emulations, a Minimoog-style bass, and gated drum sounds?
- The Chord Architecture: Have you layered at least two distinct synth timbres for your chords (a pad sustain layer and a tighter stab layer)?
- Atmosphere: Have you included an atmospheric arpeggio or texture to fill the sonic space between your main elements?
- The Mix: Have you high-pass filtered your non-bass elements and applied a large, long-tailed reverb to create depth?
- The "Juno Effect": Have you applied subtle chorus to your main synth parts?
- Dynamics: Have you used gentle sidechain compression on your synths, keyed to the kick?
The retro-future is at your fingertips. It's time to fire up Ableton or FL Studio, load up your favorite Juno emulation, and turn this technical blueprint into a neon-drenched masterpiece.
Frequently Asked Questions

John von Seggern
Founder & CEO, Futureproof Music School
John von Seggern is the founder and CEO of Futureproof Music School. He holds an MA in digital ethnomusicology (the anthropology of music on the internet) from UC Riverside, and a BA in Music, magna cum laude, from Carleton College. A techno producer and DJ since the late 1990s, he released as John von on his own net.label Xeriscape Records while working at Native Instruments, where he co-authored the MASSIVE synth manual. He contributed sound design to Pixar's WALL-E (2008), was a member of Jon Hassell's late-career Studio Group on Hassell's final two albums, ran Icon Collective's online program with Max Pote for eight years before Icon closed in May 2025, and authored three books on music technology including Laptop Music Power!. He architected Kadence, the AI music coach at the core of Futureproof.
Ready to level up your production?
Join Futureproof for live mentorship, AI coaching, and a community of producers.
Start your 14-day free trial