Essential Guide: How to Make a Sample Pack
Founder & CEO, Futureproof Music School
Sample packs are one of the most powerful tools in a music producer's arsenal. They're collections of sounds that capture a unique sonic signature, and creating your own is a way to both express your artistic identity and share it with the world. But how do you actually make a sample pack? This guide walks you through the entire process, from initial concept to final distribution.
What Is a Sample Pack?
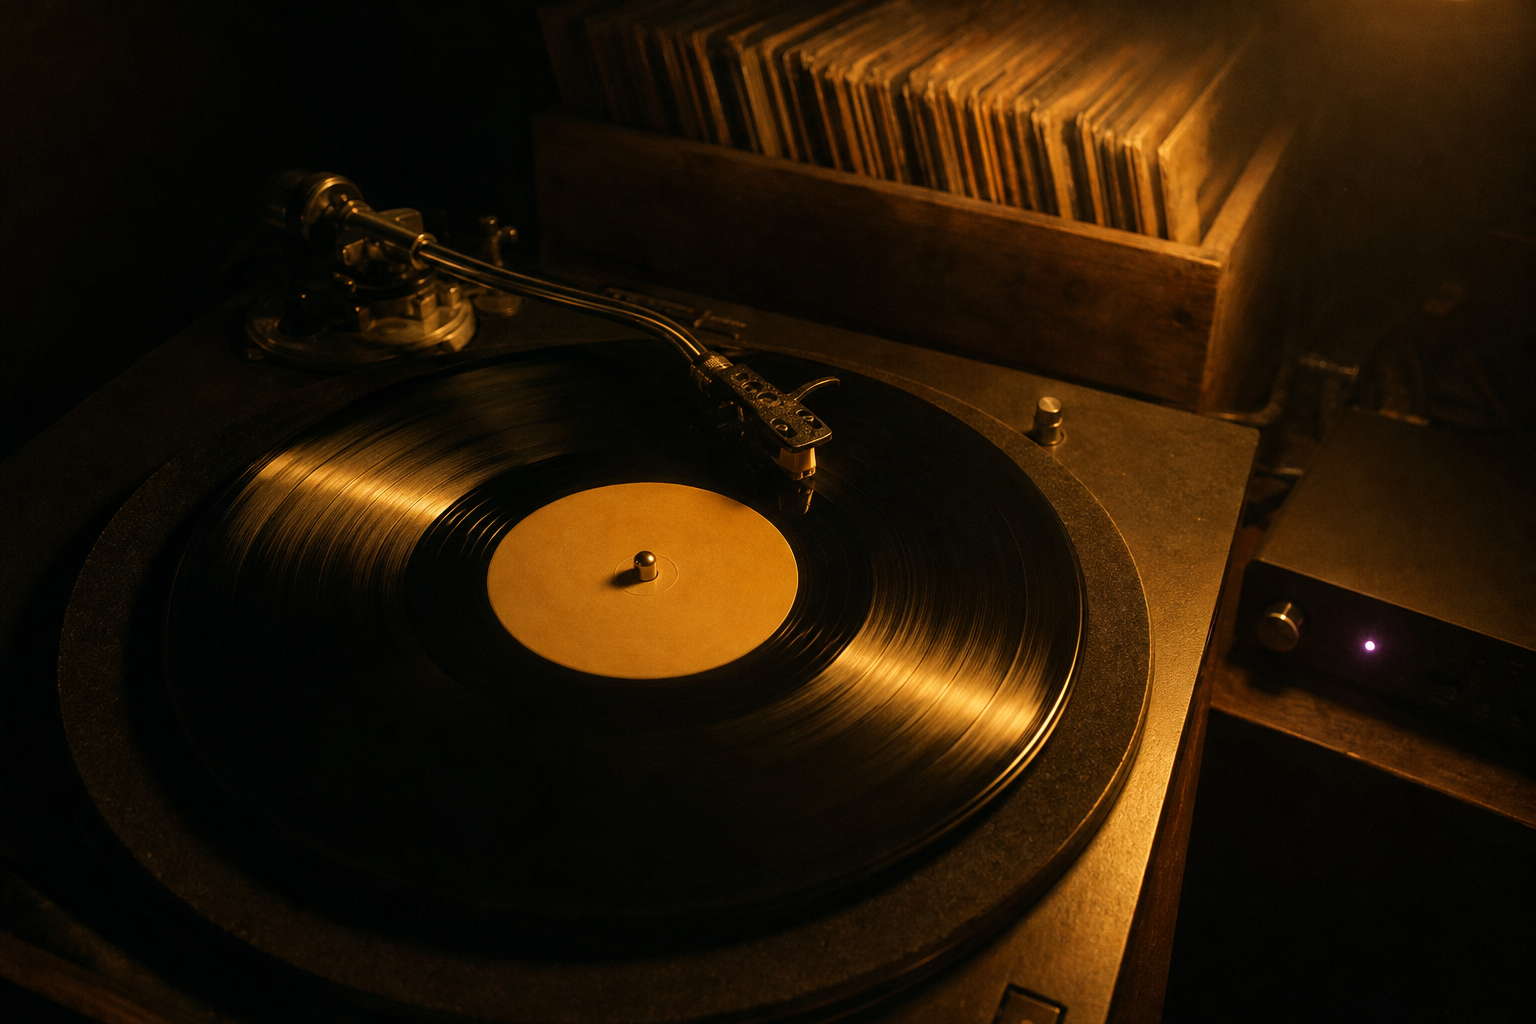
A sample pack is a curated collection of audio files designed for use in music production. These can include one-shots (single sounds like drum hits, synth stabs, or vocal chops), loops (repeating musical phrases), MIDI files (musical data that can trigger any instrument), and presets (saved settings for synthesizers or effects).
Sample packs can be genre-specific (focusing on house music or hip-hop, for example) or more broadly useful across many styles. The key is that they provide producers with building blocks they can use to create new music.
Planning Your Sample Pack
Before you record or program a single sound, you need a clear vision for your pack. This planning phase is crucial to creating something cohesive and valuable.
Start by defining your concept. What is the central theme or sound of your pack? This could be a specific genre, a particular instrument, a mood or emotion, or even a specific time period or cultural reference. A clear concept helps you make decisions throughout the creation process.
Next, research the market. Look at what sample packs already exist in your target category. What's missing? What could you do better or differently? Understanding what's already out there helps you identify your unique angle.
Finally, plan your content. Decide on the types of sounds you'll include (drums, bass, synths, vocals, etc.), the approximate number of files, the tempos and keys you'll work in, and any special features that will make your pack stand out.
Creating Your Sounds
This is where the actual production work happens. Whether you're recording live instruments, programming synthesizers, or processing found sounds, the quality and character of your source material determines the quality of your pack.
For drum sounds, consider recording real drums if you have access to them. Even if you don't have a full kit, individual elements like snare hits, hi-hat sounds, or hand percussion can add organic texture. Alternatively, use high-quality drum machines or synthesizers, and spend time carefully programming and processing each sound.
For melodic and harmonic content, think about what makes your sound unique. Maybe it's a specific synthesizer you've mastered, a unique signal chain, or a particular playing style. Capture that essence in your loops and one-shots.
Throughout the creation process, organize your work carefully. Use a consistent naming convention, keep your project files organized, and make regular backups. You'll be creating a lot of files, and staying organized from the start will save you significant time later.
Recording and Processing
Technical quality matters enormously in a sample pack. Producers who use your sounds will be integrating them into their own mixes, so they need to be clean, well-processed, and properly formatted.
Record at the highest quality your setup allows. Use a good audio interface, quality cables, and proper gain staging. Avoid clipping at the recording stage, as this introduces distortion that can't be removed later.
Process your sounds thoughtfully. EQ can remove unwanted frequencies and help sounds sit better in a mix. Compression can add punch and consistency. Saturation can add warmth and character. But be careful not to over-process, as this limits the flexibility of your sounds for the people who will use them.
For loops, make sure they loop seamlessly. Export them with clean start and end points, and double-check that there are no clicks or pops at the loop points.
Organizing and Formatting
Once your sounds are created and processed, you need to organize them in a way that makes them easy to browse and use. A well-organized pack is significantly more valuable than a disorganized one, even if the sounds are identical.
Create a logical folder structure. Common approaches include organizing by type (drums, bass, synths, etc.), by key and tempo for loops, or by mood or energy level. Choose an approach that makes sense for your specific content.
Name your files consistently and descriptively. A file called "Kick_Hard_808_G_120BPM" is much more useful than "kick01.wav". Include relevant information like instrument type, character descriptors, key, and tempo where applicable.
Export your files in appropriate formats. WAV at 24-bit, 44.1kHz is the standard for sample packs. Some producers also include MP3 versions for preview purposes, but the primary files should be high-quality WAV.
Licensing Your Sample Pack
Before you distribute your pack, you need to decide how you want to license it. This determines what rights buyers have to use your sounds.
Royalty-free licenses are the most common for sample packs. Despite the name, "royalty-free" doesn't mean free to use for any purpose. It typically means that once someone purchases the license, they don't need to pay additional royalties when they use the sounds in their music.
You'll need to decide whether to allow commercial use (letting buyers use your sounds in music they sell or monetize), whether to require attribution (asking buyers to credit you when they use your sounds), and whether to allow resale or redistribution of the samples themselves (typically prohibited in most licenses).
Consider consulting with a music lawyer if you're planning to sell your pack commercially. Getting the legal details right from the start can save significant headaches later.
Distributing Your Sample Pack
With your pack created and licensed, it's time to get it out into the world. There are several options for distribution, each with different trade-offs.
Selling directly through your own website gives you the highest profit margin and the most control over pricing and presentation. Platforms like Gumroad or Shopify make it relatively easy to set up a digital product storefront. The challenge is driving traffic to your site.
Established sample pack marketplaces like Splice, Loopmasters, or Sample Magic have built-in audiences of producers looking for new sounds. They typically take a significant revenue share (often 50% or more), but provide visibility to a large, relevant audience.
Free distribution through platforms like Reddit, producer forums, or your social media channels can be a great way to build your reputation and get your sounds in front of people. Even if you plan to sell packs long-term, giving away a smaller free pack can be an excellent marketing strategy.
Marketing Your Sample Pack
Creating a great pack is only half the battle. You also need to tell people about it.
Create compelling demo content. A well-produced demo track that showcases your sounds in context is far more effective than just listing the technical specifications of your pack. Show producers what they can create with your sounds.
Use social media to build anticipation. Share snippets of your sounds during the creation process, give followers a behind-the-scenes look at how you make your sounds, and build excitement before launch.
Reach out to music production influencers, YouTubers, or bloggers who might be interested in reviewing your pack or featuring it in a tutorial. Authentic coverage from trusted voices in the community can drive significant interest.
Continuing to Grow
Your first sample pack is just the beginning. Pay attention to feedback from people who use your sounds. What do they love? What do they wish was different? Use this feedback to improve your future packs.
Consider creating a series of related packs that build a consistent brand identity. Over time, you can become known for a particular sound or style, which makes marketing each new release easier as you build a following of producers who love your work.
Making sample packs is a craft that combines technical skill, artistic vision, and business acumen. The hardest part is simply getting started. Now that you know how to make a sample pack, all that's left to do is start. Go turn your signature sound into a resource that can inspire countless other music producers on their own creative journeys.
Frequently Asked Questions
How many sounds should I include in a sample pack?
Most successful packs land between 50 and 200 files. Quality beats quantity: a tight 60-sample pack with a clear theme will outsell a bloated 500-sample pack of average sounds. If you're including loops and one-shots, aim for roughly a 1:3 ratio (loops to one-shots) so producers have flexible building blocks alongside ready-to-drop phrases.
What audio format and sample rate should I export at?
Export 24-bit WAV files at 44.1 kHz as the industry standard for sample packs. WAV is uncompressed and works in every DAW, 24-bit gives producers headroom to process the sounds without artifacts, and 44.1 kHz matches the sample rate most producers work at. Avoid MP3, AAC, or other lossy formats. Tag your loops with tempo and key in the filename (for example, "Bass_Loop_128_Cmin.wav") so producers can browse them quickly.
Where can I sell my sample pack and what's a fair price?
The big marketplaces are Splice, Loopmasters, Beatport Sounds, and Sounds.com, each with their own approval process and revenue split (typically 30 to 50 percent to you). Splice's subscription model pays per download rather than per sale, which can compound nicely if your sounds get used. You can also sell direct through Gumroad, Bandcamp, or your own site and keep most of the revenue. Pricing usually falls in the $15 to $40 range for a focused pack; bundles and "deluxe" tiers with extra content can stretch higher. Start with one marketplace, learn what sells, then expand.

John von Seggern
Founder & CEO, Futureproof Music School
John von Seggern is the founder and CEO of Futureproof Music School. He holds an MA in digital ethnomusicology (the anthropology of music on the internet) from UC Riverside, and a BA in Music, magna cum laude, from Carleton College. A techno producer and DJ since the late 1990s, he released as John von on his own net.label Xeriscape Records while working at Native Instruments, where he co-authored the MASSIVE synth manual. He contributed sound design to Pixar's WALL-E (2008), was a member of Jon Hassell's late-career Studio Group on Hassell's final two albums, ran Icon Collective's online program with Max Pote for eight years before Icon closed in May 2025, and authored three books on music technology including Laptop Music Power!. He architected Kadence, the AI music coach at the core of Futureproof.
Ready to level up your production?
Join Futureproof for live mentorship, AI coaching, and a community of producers.
Start your 14-day free trial