Mastering the Basics: How to Make Trap Beats in FL Studio
Founder & CEO, Futureproof Music School
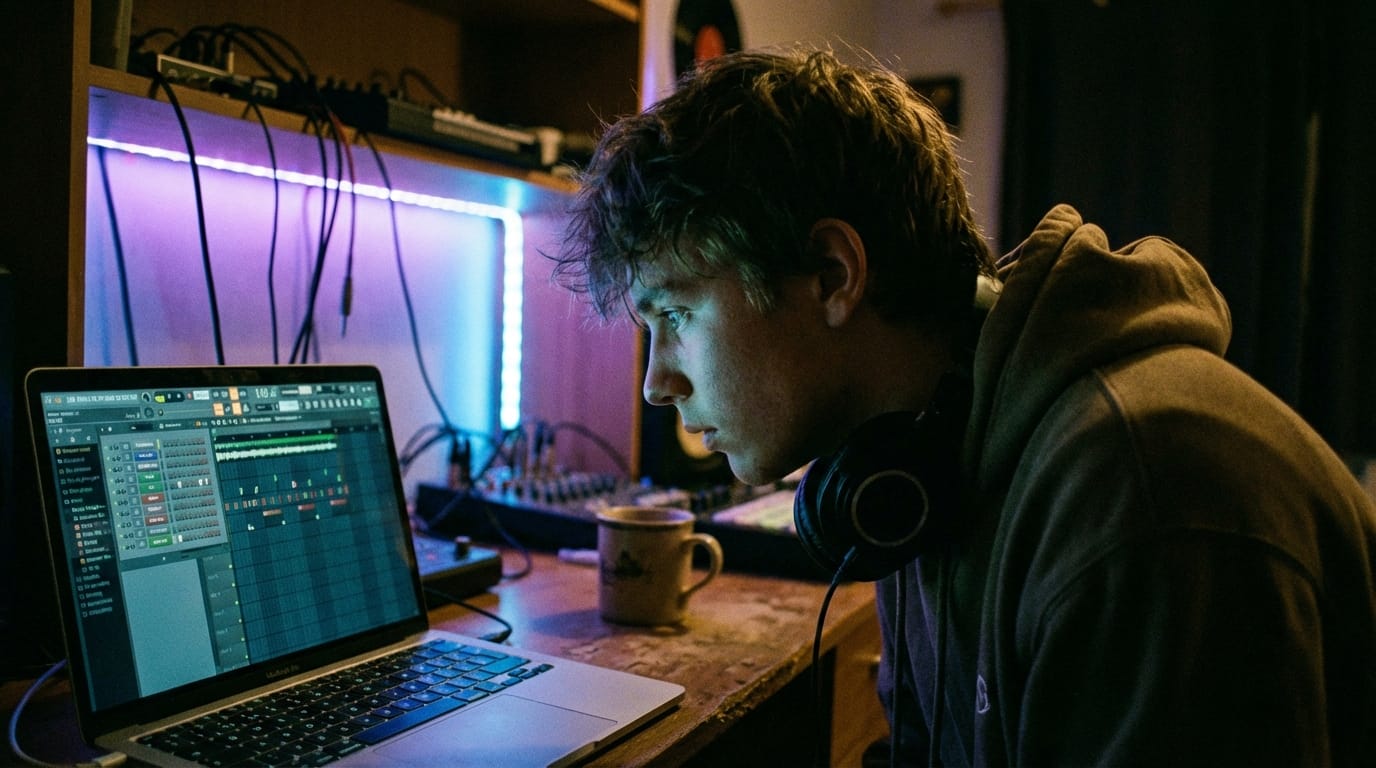
Ever get completely hooked by the sound of a modern Trap beat? That chest-rattling 808 bass, those crispy hi-hats dancing in triplets, and melodic synths that stick in your head for days? If you've been wondering how to make trap beats in FL Studio that sound genuinely professional, you've come to the right place.
We're diving deep into FL Studio's powerful workflow to help you craft Trap beats from scratch. Whether you're a complete beginner or looking to level up your skills, this guide walks you through every key step: from setting up your project to adding those professional finishing touches.
Getting Your FL Studio Project Ready
Genre Specs at a Glance
| Attribute | Detail |
|---|---|
| Common BPM ranges | 140 (trap half-time), 90-100 (hip-hop), 128 (EDM/house), 170 (DnB) |
| Time signature | 4/4 (nearly all modern beats) |
| Core drum elements | Kick, clap/snare, closed hat, open hat, percussion |
| Signature FL features | Step sequencer, piano roll ghost notes, automation clips, Fruity Patcher |
| Genre starting points | Trap, drill, boom-bap, future bass, house, phonk |
Before you lay down a single note, having the right foundation is crucial. When learning how to make trap beats in FL Studio, your first move is to set your tempo. Professional Trap beats typically sit in the 130-160 BPM range. A sweet spot for most Trap styles is around 140 BPM, giving you that distinctive feel between the hard-hitting energy of faster styles and the slower, more menacing vibe.
Next, configure your audio settings. Navigate to Options > Audio settings and select your audio interface or ASIO driver. A buffer length of 256-512 samples gives you a good balance between low latency (for playing instruments in real-time) and stable performance. You'll also want to make sure your sample rate is set to 44.1kHz or 48kHz.
Finally, get organized from the start. Create folders in the Channel Rack for different elements: Drums, Bass, Melodies, FX. This makes navigating your project much easier as it grows. Also, save your project immediately with a meaningful name (e.g., "TrapBeat_140BPM_v1"), and keep saving regularly.
Building Your Trap Drum Foundation
The drums are the backbone of any Trap beat. Open a new instance of FPC (FL Studio's drum sequencer) in the Channel Rack. You'll want to start with a solid kick, snare, and hi-hat pattern.
For your kick drum, load a punchy sample (like "Kick_Hard" or "Kick_808" from FL Studio's sample library). In a standard Trap beat, the kick usually hits on beats 1 and 3, but the exact placement varies. Experiment with placing it on the downbeats (beat 1, beat 3) and off-beats (beats 1.2, 2.4) for different feels. Use the velocity controls in FPC to vary the impact of each kick hit, making the pattern feel more dynamic and human.
The snare is typically on beats 2 and 4, giving that classic "on the backbeat" snap. But many Trap producers love to add additional snare hits in unexpected places for syncopation and to build tension. Load a crispy, punchy snare sample, and don't be afraid to layer it with a clap sample to add more body.
Trap hi-hats are where much of the genre's energy comes from. They often feature fast, rolling patterns with triplet subdivisions. Start with a simple 16th-note hi-hat pattern (every 4th step in the default FPC grid), then add some 32nd-note "rolls" (groups of 2-4 very fast hi-hats) in key places. Altering the velocity of your hi-hats (making some louder and some quieter) is crucial to creating that shuffled, organic feel.
Crafting Your 808 Bass Line
The 808 bass is arguably the defining element of modern Trap. FL Studio's 3xOsc or a dedicated bass synth like Sytrus are great for creating your own 808-style bass. Alternatively, you can use a pre-made 808 bass sample. The key to a great 808 is making it melodic and rhythmically interesting, not just a simple repeating note.
Open a new pattern in the Piano Roll for your bass instrument. Think of your 808 like a bass guitar: it can carry melody, add rhythm, and create groove. Start with notes that correspond to the root notes of your chord progression (if you have one), then add slides (using portamento) for that characteristic "wooosh" transition between notes.
In FL Studio, you create slides in the Piano Roll by drawing a very short note followed immediately by the target note. The 3xOsc or your sample will then slide smoothly from one pitch to the next. Experiment with the length and velocity of your 808 notes to control the sustain and impact.
Adding Melodies and Harmonics
With your drums and bass locked in, it's time to add melodic elements. These are the parts that will give your beat its unique character and emotional feel. Open a new pattern in the Piano Roll for a melodic instrument (e.g., a piano, a synth lead, or a string).
A simple 4 or 8-bar chord progression or melody is a great starting point. Common scales in Trap are minor scales (natural minor, Phrygian) and Pentatonic scales, which tend to give that dark, introspective feel. You could also sample a short, catchy melodic phrase from an existing song (if you have the rights, of course!).
Experiment with different sounds from your synths. FL Studio comes with a robust set of presets for Sytrus, Harmor, and other synthesizers. Layering a few different sounds (e.g., a piano with a soft pad) can add depth and richness to your melody.
Arrangement: Building Your Song Structure
Once you have your core loop (drums, bass, melody), it's time to arrange your beat into a full song. Trap beats often follow a basic structure like: Intro, Verse, Chorus, Verse, Chorus, Bridge/Outro.
In FL Studio's Playlist (the main arrangement view), drag your patterns (from the Pattern list) to create the different sections. Start with your core loop playing for 8-16 bars, then create variations for different sections. For example, you might have a "Drop" or "Chorus" version of your drum pattern that's more energetic (adding extra hits, removing the hi-hats temporarily for impact), and a "Verse" version that's more stripped back.
Think about how your different elements enter and exit. Gradually introducing elements (e.g., starting with just drums and 808, then adding melodies) creates a sense of buildup and anticipation.
Adding Atmosphere and FX
To give your Trap beat depth and professionalism, you need to add some atmospheric elements and FX. These are the subtle details that separate a good beat from a great one.
Consider adding: pads or ambiences for background texture, FX hits (risers, downlifters, impacts) to transition between sections, and vocal chops (short, pitched vocal samples) for rhythmic interest.
FL Studio's Mixer is your best friend here. Route each of your instruments to their own Mixer channel. This allows you to add individual effects and control the volume and pan of each element precisely. Common FX for Trap include reverb (adding space to snares and melodies), delay (creating rhythmic echoes), and compression (controlling dynamics and adding punch).
Mixing Your Trap Beat
Mixing is the process of balancing and refining all the individual elements of your beat so they work together as a cohesive whole. It's where your beat truly comes alive.
Start with basic level balancing: use the faders in the Mixer to ensure no one element is too loud or too quiet. The kick and 808 should generally be the loudest elements, with the snare not far behind. Melodies and pads should sit in the mix without overpowering the low end.
Use EQ (equalization) to carve out space for each element. For example, roll off the low frequencies below 80Hz on everything except the kick and 808. This prevents muddy low-end buildup. Add a high-frequency boost to your hi-hats to make them sparkle.
Compression is key in Trap: use it on your kick to tighten up the attack and sustain, on your 808 for consistent volume, and on your mix bus (master channel) for that glued-together feel.
Mastering: The Final Polish
Mastering is the final step before you share your beat with the world. It's the process of bringing your mix to a professional loudness level and ensuring it sounds great on any playback system.
In FL Studio, use the Master channel's effects chain to add your mastering chain. A typical mastering chain for Trap might include: a multiband compressor (to control dynamics across different frequency ranges), a limiter (to bring your track to a loud, competitive level without clipping), and a final EQ (for subtle tonal adjustments).
Aim for a loudness target of around -8 to -6 LUFS for streaming platforms. This is loud enough to compete but won't cause excessive distortion.
Essential Tools and Plugins
| Tool / Plugin | Use case |
|---|---|
| FL Studio (bundled stock) | Fruity Limiter, Parametric EQ 2, Reverb 2, Delay 3 |
| Fruity Soft Clipper | Transparent peak limiting for 808s and masters |
| Serum / Sytrus | Signature leads and 808 design |
| FabFilter Pro-Q 3 | Surgical EQ beyond what stock plugins offer |
| Valhalla Vintage Verb | Lush room/plate reverb for drums and vocals |
| Kickstart 2 / Gross Beat | Sidechain pumping and stutter effects |
Your Next Steps with FL Studio Trap Beats
Making great Trap beats in FL Studio is a skill that takes time and practice, but with the fundamentals covered here, you have a solid roadmap. The key is to keep experimenting, keep listening to music you love, and keep making beats.
By working through this guide, you will learn to:
- Master drum programming for professional Trap beats.
- Craft catchy melodies and use FL Studio's powerful tools.
- Arrange your loops into dynamic and engaging songs.
- Add professional details with automation, effects, and fills.
- Refine your music with essential mixing and mastering techniques.
Frequently Asked Questions

John von Seggern
Founder & CEO, Futureproof Music School
John von Seggern is the founder and CEO of Futureproof Music School. He holds an MA in digital ethnomusicology (the anthropology of music on the internet) from UC Riverside, and a BA in Music, magna cum laude, from Carleton College. A techno producer and DJ since the late 1990s, he released as John von on his own net.label Xeriscape Records while working at Native Instruments, where he co-authored the MASSIVE synth manual. He contributed sound design to Pixar's WALL-E (2008), was a member of Jon Hassell's late-career Studio Group on Hassell's final two albums, ran Icon Collective's online program with Max Pote for eight years before Icon closed in May 2025, and authored three books on music technology including Laptop Music Power!. He architected Kadence, the AI music coach at the core of Futureproof.
Ready to level up your production?
Join Futureproof for live mentorship, AI coaching, and a community of producers.
Start your 14-day free trial