Parallel Compression Explained: NYC, Meat, and Spank Techniques for Bigger Mixes
Marketing Director & Bass Music Mentor
Parallel compression really is just blending a compressed signal and a dry signal together. But what we're getting into here is true parallel compression, which uses send and return buses to apply compression to a bus track. Three flavors below, with the exact settings.
One thing trips people up first. Certain compressors have a mix control on them, but that is not a true parallel bus. It's just a balance pot for the dry and wet signal. So say you have 75% wet, you're only getting 25% of the dry signal. Sometimes that's great and it's more than enough. But what we're getting into is the ability to have completely parallel sends that we can blend back into the original signal to taste, and include other processing on them. The bus is where the fun lives.
Watch the Video
Prefer reading? Here's the full breakdown.
NYC Compression: weight on the drum bus
The first one you may or may not have heard of is what's known as New York City compression. This is a technique that's up to some debate as to where it was invented, but the person generally thought of as inventing it is an engineer named Bobby Owsinski. He was engineering a lot for bands in New York and would use a bus to route things like drums, where he wanted more aggressive compression on these buses but without ruining the transients.
So the idea is a VCA style compressor of your choice, because that is generally what was being used. The original great ones are any sort of SSL style compressor. They give you fairly transparent results but with a little bit of Mojo.
The chain:
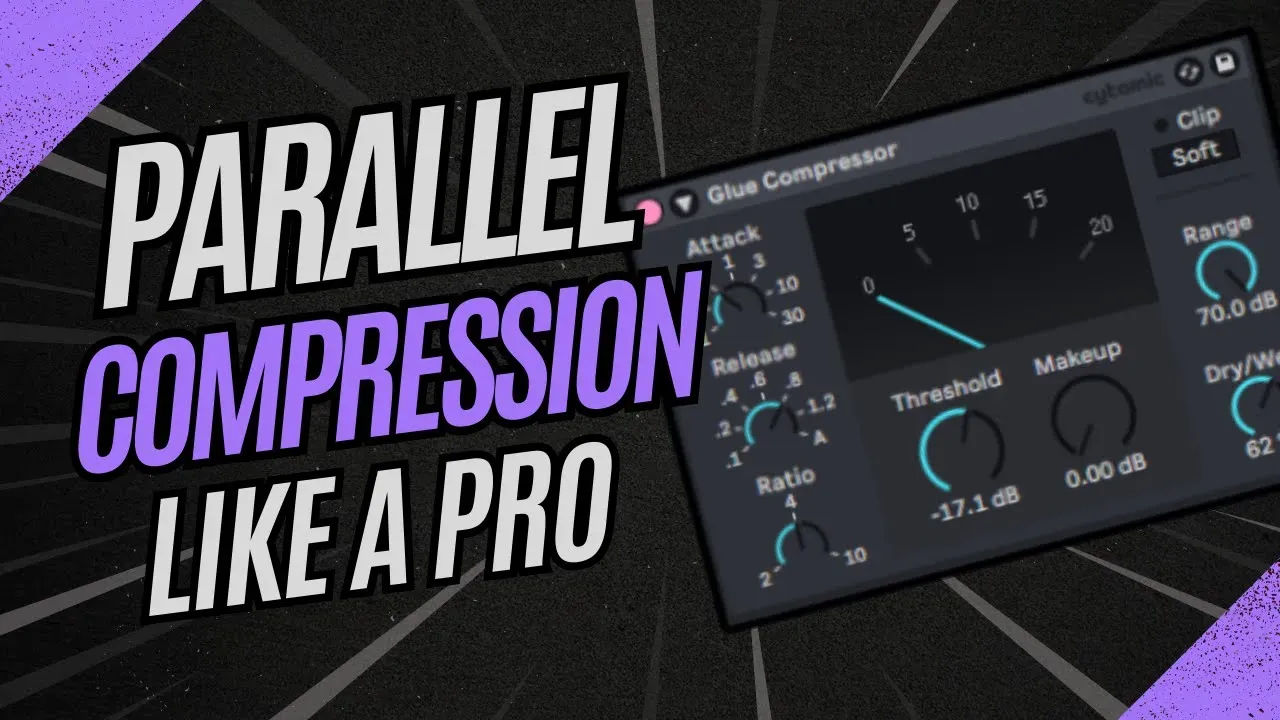
- A VCA style compressor on the return. I'm using Ableton's Glue, which is a port of the Cytomic Glue. You can use any VCA style compressor or even your stock compressor. Anything will work.
- A fairly fast attack time, a fairly slow release time, a high ratio, a good bit of compression, 10 to 15 dB of gain reduction, and no makeup gain.
- After it, a color EQ. I'm using a Pultec, setting about three and a half dB of boost at 100 Hz, then about the same, three or so, at 10 kHz using a fairly broad Q, and just the tiniest bit of attenuation around the center frequency.
- Send the drums full to the return, then pull the return fader up underneath the dry.
As I play this back and pull up the return, you're going to hear it start to come alive, start to have more density, more weight to it. This heavy-handed compression is really smashing down on it, it's crunched down, but it's bringing up a lot of the tails, a lot of the releases, adding some nice crunch to everything. If I were just to do this directly on the channel it wouldn't sound the same. So this parallel technique enables me to get that density, get that beef to this drum beat, and blend it in to taste.
Don't get fooled by gain bias
One thing to be aware of, and this goes for all of these techniques: you've got to make sure you're not being fooled by what's known as gain bias. Gain bias is that our ears, psychoacoustically, perceive things that are louder to sound better. So when you blend a parallel bus in, you're adding level, and your brain will happily tell you the processing is doing way more than it actually is.
A quick trick is one of the plugins that do pre and post analysis before and after processing. In Ableton there's a fantastic one I highly recommend from a company called Noir Labs, called Volume Buddy. I think it's about eight bucks and it's worth every penny. It compensates in LUFS, not just straight dB, which is a more realistic metric of how we perceive loudness, so you can A/B on and off and hear the difference the processing is making without the change in gain.
Meat Compression: body for vocals, bass, and mids
The next one is something that I call meat compression. It's a technique that allows you to add weight and body to elements that have a lot of mid-range. So this is vocals, full range bass, anything melodic that has a lot of content in the low mids and upper mids but seems like it could be a little more thick and full down in those body regions. That's your low mids, the 200 to a thousand, and even some harmonics up into the upper mids from 2k on up. Rather than push a static EQ up on it, which is going to cause all those peaks to be amplified even more, we send it to a return bus, which I've called my meat bus.
The chain, four stages, each doing one job:
- A transparent compressor, your stock one is fine, something that doesn't color the signal. Fast attack, super slow release, aiming for just about 1 to 2 dB of gain reduction. This is just to stabilize the sound, make sure there are no huge swings in transients.
- A color EQ. I've gone for a Neve 1073 style, as these have a lot of good character, some saturation and soft clipping. Set the midband to about 360 Hz, adding 2 to 3 dB of boost to taste, and the low shelf at 220 pushing up about the same 3 dB. That's where a lot of that weight comes from. You don't want to overdo it, because this is also where a lot of mud can build up.
- A transparent EQ, a little low cut, and a low pass up around 7,500. Now you're honing in on that low mid region you boosted, making sure you're not adding too much of the highs back in.
- A very colorful tube style compressor like a Fairchild, compressing by about 3 dB or more. You really want this to add that glue, that weight, that density. What you're aiming for is kind of a smooth squished brick sound.
Then blend the meat bus back in with the original, and you can hear the lift it's giving to the low mids. It's adding a lot of body, a lot of weight, to a sound that had a relatively anemic mid low. That's the meat compression.
Spank Compression: accent the transients
The next trick is something I call spank compression. It's similar to New York City compression in that it works very well on transient material, but it's kind of the opposite idea. Instead of just fully smashing it, you're actually accenting transients and bringing those back in.
The chain:
- Start with the Glue, an SSL G-bus style VCA. Set a very high ratio, the attack as slow as it can possibly go, the release as fast as it can possibly go, and then yank the threshold down as far as it goes, because what I really want is to get the transients exaggerated. You can already hear how it's accentuating those transients: it's letting the transients through, then clamping down on them, then releasing super quick, and it really makes them punch through.
- Then a FET style compressor. I've gone for the 1176, in a trick most of these have known as all-buttons mode. On an 1176 your ratio is selected with these buttons, but there was a trick with the hardware where you could push all four buttons in, and it would over-compress the signal, create a lot more harmonic distortion, and give you both fast compression and slam-smush compression. One thing to note: on most 1176 compressors the attack and release times are reversed on the knobs, so the lowest number is the slowest. So slowest attack, fastest release.
When I blend that in with the drum loop, it adds this level of punch and emphasis to the transients we didn't have before, while also adding some nice coloration, a little bit of glue for everything to gel together. Keep in mind I've got no processing on any of these drum stems whatsoever. It works just as well on a plucky melodic part, where adding a fast noise gate before the FET grabs just those first initial transients and really makes it snap.
Which one, when
- Drums need weight and density without losing punch, go NYC.
- A mid-range source feels anemic (vocals, bass, melodic parts), reach for the meat.
- Transients need to cut through, use the spank.
Hopefully this shows you the power you can add to an element with parallel compression, or to a mix overall. It's an exceedingly powerful tool and it's practically limitless in the ways you can apply it. I encourage you to experiment, try different combinations of things, try different settings. Never be afraid to get in there and just randomly twist knobs or load presets and blend it in. You'll always find some sort of magic that can be done with parallel compression.

Max Pote
Marketing Director & Bass Music Mentor
Max Pote is a professional bass music producer who performs and releases under the name Protohype. He has more than a decade of releases on major bass-music labels (Firepower Records, SMOG, Never Say Die, Rottun, Deadbeats), festival appearances at EDC Las Vegas and Lost Lands, and a feature credit on Tom Morello's 2021 album The Atlas Underground Fire. He was an early Icon Collective alumnus and later returned as an instructor before co-founding Futureproof Music School. He leads marketing at Futureproof and mentors students on sound design, songwriting, and finishing tracks.
Ready to level up your production?
Join Futureproof for live mentorship, AI coaching, and a community of producers.
Start your 14-day free trial