How To Build A DJ Mix In Ableton (My Full Rekordbox Workflow)
Marketing Director & Bass Music Mentor
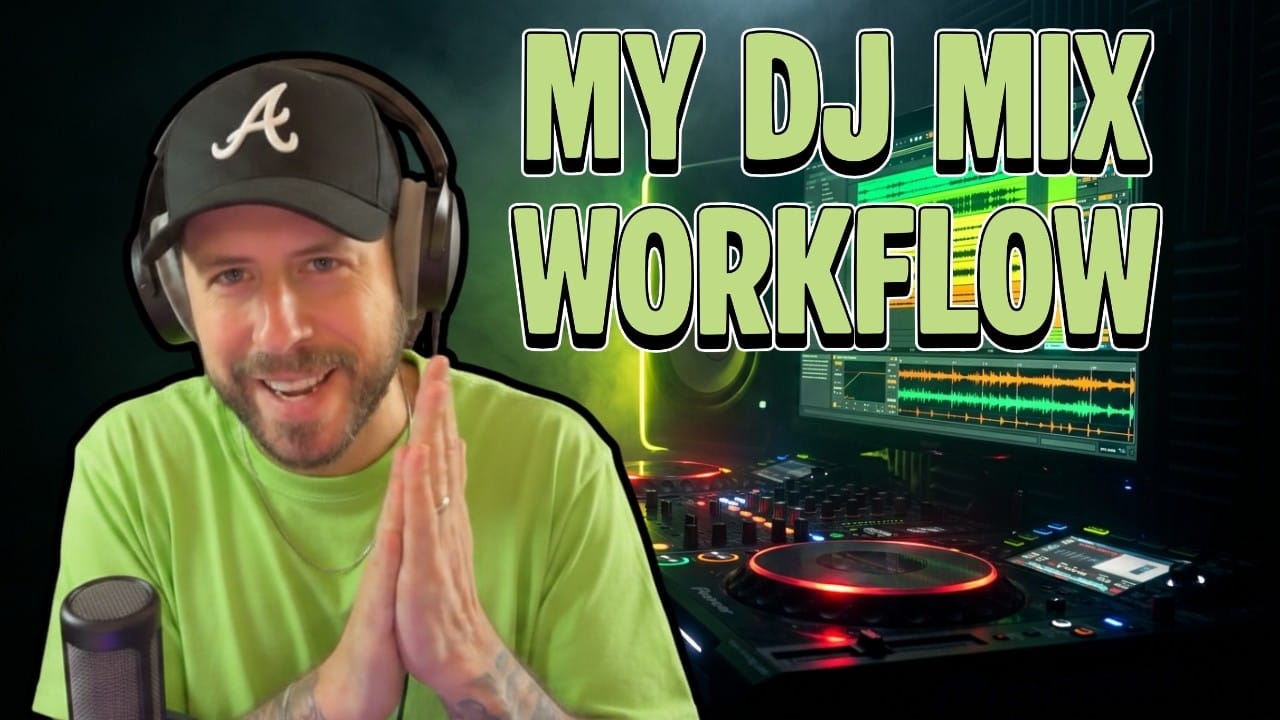
What's up, it's Max from Futureproof Music School. This month our community challenge is to build a 30-minute DJ mix from scratch, so I jumped on a live workshop and walked the crew through my entire workflow. Rekordbox setup, harmonic mixing, the Ableton master chain, all of it.
If you came here looking for a way to put together a mix that actually sounds like you DJed it live (without the panic of recording it live), you're in the right place.
Why I Build DJ Mixes In Ableton Instead Of Recording Live
Real talk. Back in the day I would just record sets live and post them. Now I build them in Ableton. The reason is simple. You're going to mess up on the 48th minute of an hour-long mix and have to redo the whole thing. Building it in Ableton means you can flex on transitions in ways you straight up cannot do live. Cut the low end at the exact same instant a new track drops. Stack a four-bar wash-out that lines up perfectly with the downbeat. That's the move.
The goal isn't to fake a live mix though. The goal is to recreate the feeling of a live mix. You don't want anyone hearing your mix and going "oh that's an Ableton mix." So everything I'm about to show you is built around that one rule. Make it sound live, even though it's not.
Step 1: Plan The Mix With Mixing In Key
Before anything goes into Ableton, I plan the mix in Rekordbox using the Camelot wheel. Every key gets a letter and a number. Minor keys are A, major keys are B. Most electronic music sits in minor, so almost everything in my Rekordbox is an A. If a track is tagged as a B, I don't trust it. It's probably an A.
The rule is straightforward. You can move up one number, down one number, stay on the same number, or jump from A to B at the same number. So if I'm on 2A, I can play 1A, 3A, another 2A, or 2B. I cannot play 5A or 1B without making something weird happen.
Here's the thing though. The key matters less than people think during the drop. If the low end is cut and there's no melody, you can get away with a lot. So when you see me jump from 9A to 7A and back, it's because there's a big breakdown with nothing in it. Visually I can do whatever I want there. Understanding arrangement is just as important as understanding key.
Step 2: Set Up Rekordbox The Right Way
When I drag tracks into Rekordbox, I right click and turn on four columns. Track title, artist, bit rate, and key. Bit rate is the one nobody talks about. If your track is exported at too high a bit rate (above 2400 or 2500), it will not play on the CDJ. The worst song ever is still better than a track that doesn't load. So I always check bit rate before a gig.
Then I set up hot cues. Two if I know the song, three if I don't:
- A point: where I start mixing in
- C point: where the next song needs to start
That's it. When I'm playing live and I see C, I know it's time to hit A on the next track. Simple system, never fails me.
One more thing on arrangement. Every artist I play follows the same rule. 16s, 32s, 8s. If a track doesn't have a clean arrangement that I can drop into a set without surgery, I'm not playing it. So when you're producing tracks to play out, follow the rules. Give yourself a clean intro, a clean outro, and a breakdown that someone can mix into.
Step 3: The Four-CDJ Mental Model In Ableton
Here's where it gets fun. When I DJ live, my technical rider is four CDJs. So when I build a set in Ableton, I treat it the same way. Four tracks at a time. I'm mixing on three, and the fourth is loaded up two songs ahead just waiting.
Each track gets two plugins on it. That's all you need.
- EQ Eight with a low cut. Never high cut. I don't even understand why anyone would.
- Utility for volume changes.
That's the whole channel strip. Low cut and Utility. Done.
Step 4: NEVER Use Volume Automation. Use Utility.
This is the rule that breaks people's brains. Do not put volume automation on your tracks. Ever. Not when you're DJing, not when you're producing.
Think about it. If you have volume automation drawn into your track and you want to fade it out, how do you change the volume during the mix? You can't. You'd have to redraw the automation. It's a mess. Just put a Utility on the track and move that fader instead.
When you're producing too, if you really need to bring the volume down on a section, use a low pass filter. It sounds way better than a volume fade anyway. But if you absolutely have to automate volume, do it on a Utility plugin. Never on the channel fader itself.
Step 5: Your Ableton DJ Master Chain
The master bus is not where you mix the songs. The songs are already mastered. The master bus is just there to catch peaks and let you monitor what's happening. Here's what I run:
- Span for visual metering
- Youlean Loudness Meter so I can see how hard I'm hitting
- A really light compressor with slow attack and fast release. Slow attack so I'm not killing the kick drum, just gluing the peaks
- Ableton Limiter at the end. Not to limit anything aggressive. Just to catch peaks and stop me from going into the red
That's the chain. Nothing crazy. The whole point is that everything sounds clean and nothing clips.
Step 6: Tempo, Warping, And The 145 Trick
We're building a dubstep set, so I'm running the whole thing at 150. Sage advice from years of doing this. Always write your dub tracks at 145. 145 can push up to 150 with no problem. Nobody will ever notice the difference live. But 150 cannot come down to 145 cleanly, and 140 cannot push to 150. So write at 145 and you're flexible in both directions.
When I bring a new track in to warp, here's a little hack. I set my session tempo to whatever the track is (let's say 145), warp it cleanly at that tempo, then push the session back up to 150. Saves me a ton of trouble.
Step 7: Live Demo. Building A Transition.
Here's how I actually build a transition. I find the spot where the outgoing track ends. I look at the next track in Rekordbox to see where it starts mixing in (my A point). I line those two spots up in Ableton.
Then I cut the low end on the incoming track. This is something you can't do live, by the way. There's no way you start a song and have the low cut switch on at the exact same instant. That's the kind of flex Ableton gives you.
Once the buildup hits, I add an Auto Filter and start sweeping it up as the energy builds. Maybe the Utility starts coming down on the outgoing track at the same time. Both tracks meet in the middle, then the new one takes over.
The rule of thumb. When something is going up, something else is going down. You're filling the void. That's how you make a transition feel like a transition instead of a dropout.
Step 8: The Wash-Out Move (Echo Is Your Best Friend)
If you come to one of my DJ sets, you'll think I invented the wash-out. I use it on every transition. It just sounds so nice and natural. On a Pioneer 900 or a DDJ, it's labeled "echo." Same effect. You hit it at the end of a phrase and the track just dissolves into a tail of repeats. Then a new track drops in clean.
It's the move I use when I want to change tempo mid-set. If I don't have a transition track that goes from 140 to 174 and I'm trying to get into drum and bass, I just echo out and bring the new tempo in fresh. Works every time.
Step 9: Pro Tip From Matt. Delete Transients After Warping.
This one came up at the end of the workshop and it's worth the price of admission. Matt picked it up watching Bauer build out his live Ableton sets. The trick is this. After you warp a track to the downbeat, delete every transient marker after the first one. The warping algorithm stretches the audio between transient points. If you only mark the one, the algorithm just stretches the whole track from there cleanly without trying to guess where every kick and snare is.
I haven't tried it because I'm fast at warping the normal way. But for a fully live Ableton DJ set (think Zeds Dead or Bauer style), it's the move.
How This Translates To A Live Gig
Everything I just showed you in Ableton is the same stuff I do live with four CDJs. Three decks I'm actively mixing on. The fourth is loaded with the next song two ahead. Low cut on the way in, Utility for volume, echo for the wash-out. Same workflow, different hands.
The reason I build sets in Ableton first is so I can really hone the transitions. Then when I play it live, my muscle memory already knows what's coming next. The set is in my head, the music is in my hands, and I can actually look up at the crowd.
The Community Challenge
If you want to put this into practice, the community challenge this month at Futureproof is exactly this. Build a 30-minute DJ mix. Any genre, any music, originals or other people's tracks. Doesn't matter. Just 30 minutes. You will learn a ton.
If you want to learn more from me or my team at Futureproof, head to futureproofmusicschool.com and start your 14-day free trial today. You'll get live workshops every week, our full course library, monthly community challenges like this one, and 24/7 access to Kadence, our AI music coach.
I'll see you guys in the next one. Much love.

Max Pote
Marketing Director & Bass Music Mentor
Max Pote is a professional bass music producer who performs and releases under the name Protohype. He has more than a decade of releases on major bass-music labels (Firepower Records, SMOG, Never Say Die, Rottun, Deadbeats), festival appearances at EDC Las Vegas and Lost Lands, and a feature credit on Tom Morello's 2021 album The Atlas Underground Fire. He was an early Icon Collective alumnus and later returned as an instructor before co-founding Futureproof Music School. He leads marketing at Futureproof and mentors students on sound design, songwriting, and finishing tracks.
Ready to level up your production?
Join Futureproof for live mentorship, AI coaching, and a community of producers.
Start your 14-day free trial